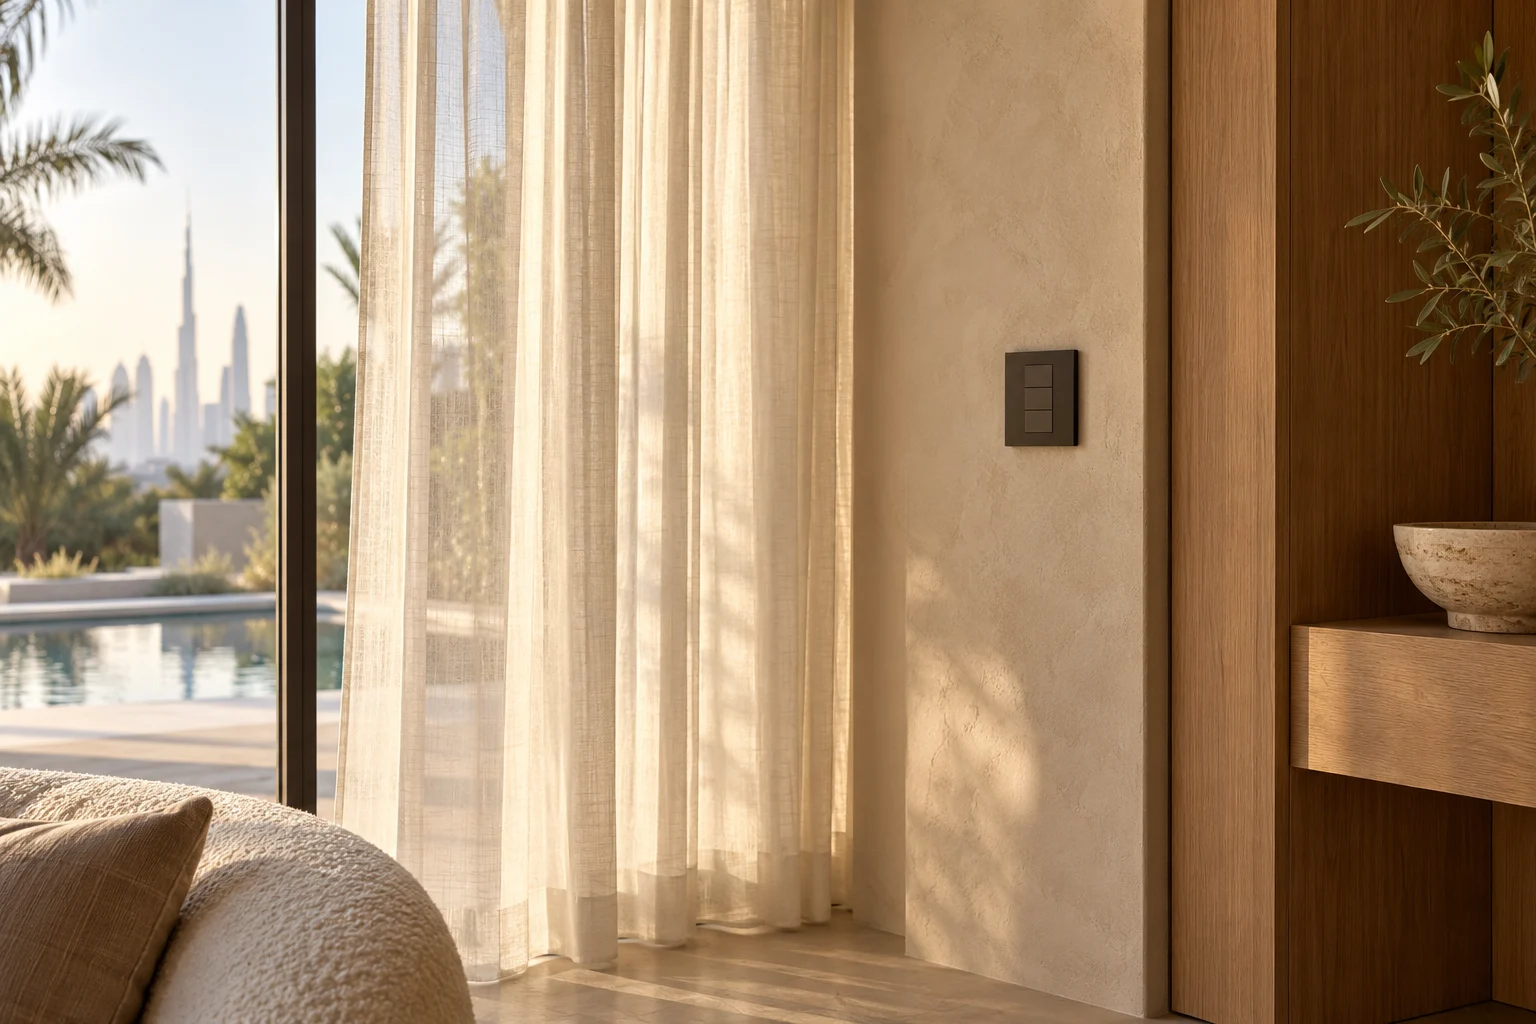
A motorized curtain or roller shade can look effortless after handover, but the ceiling detail behind it needs early coordination. Track width, fabric stack, motor position, fixing support, power, control wiring and service access all meet at the same narrow strip beside the glazing. If those decisions wait until the decorative ceiling is complete, the result may be a visible motor, reduced glass coverage or avoidable making good.
This guide helps villa owners, interior designers and fit-out teams prepare a clear shading brief before recesses and joinery close. It does not provide a universal pocket dimension or wiring detail; those come from the selected system and measured opening. Our motorized curtains and smart blinds service can coordinate the survey and specialist scope.
Decide what must move at each opening
List every window and door that may receive automated shading. Give each opening a consistent room name and reference. For each one, decide whether the requirement is a single curtain, paired curtains, sheer and blackout layers, a roller shade, two rollers or a combination. A double curtain track and a dual roller assembly need different space and support.
Record the daily purpose. A bedroom may need room darkening and a gentle morning position. A family room may use sheers for glare and privacy while retaining the view. A double-height window may need specialist access and a different operating strategy. Write the desired result before comparing motors.
Note whether panels stack left, right, centre-opening or to both sides. Check where the open fabric will sit relative to the glazing, door handle, artwork, joinery and air-conditioning grilles. A motorized track cannot compensate for a stack zone that was never reserved.
Survey the actual construction, not only the drawing
Architectural drawings may show the intended opening, while the finished dimensions change after plaster, stone, framing or joinery. The shading specialist should measure at the appropriate construction stage and confirm when a final measure is required. Large or irregular openings may need several measurements and a check for level and plumb.
Identify the material above the track or pocket. The installer needs a suitable fixing substrate, not only decorative gypsum. The interior and structural teams should agree any reinforcement and its exact position. Heavy fabric, long tracks and layered treatments can change the loading. Do not assume a standard ceiling channel is adequate.
For recessed roller shades, confirm pocket width, depth, mounting arrangement, fascia or closure detail and how the fabric passes the finished edge. Lutron publishes product-specific shade-pocket CAD resources, illustrating why a selected assembly—not a generic sketch—must drive the detail. Use the current document for the exact product and region being specified.
Coordinate fabric and hardware as one system
Fabric affects more than appearance. Weight, fullness, lining, hem, width, joins and the intended stack influence track and motor selection. A sheer layer and a lined blackout curtain may need different carriers, speeds or motors. Ask the curtain supplier to issue the relevant fabric and finished-panel information to the motor specialist before equipment is ordered.
Decide who supplies the track, motor, brackets, carriers, fabric and final dressing. If different companies supply the motor and fabric, the proposal should identify who confirms compatibility and who attends final adjustment. Avoid a gap where the electrician has provided power, the interior contractor has formed the recess and neither party owns the completed movement.
For rollers, record the fabric type, light gaps, roll direction and whether side channels are required. Blackout performance depends on the complete opening and edge detail, not only the fabric label. A sample or mock-up can resolve appearance and noise questions before a large order.
Fix the motor and service side early
Mark the motor location on each elevation. The motor end can affect pocket length, cable entry, stack position and the route to a local power supply or control panel. Reversing the motor after finishes may not be simple. Confirm the intended motor side against doors, adjacent joinery and the safest service access.
Every motor eventually needs inspection or replacement. Decide how a technician reaches the drive, brackets, connectors and limits without cutting the decorative ceiling. A removable closure, accessible pocket or suitable fascia may be required. Access should be practical after curtains and furniture are installed, not just during construction.
Do not bury individual power supplies or connection points where they cannot be inspected. The exact equipment and local electrical requirements determine the enclosure and access arrangement. The project electrical specialist remains responsible for the final power design.
Use the selected product’s wiring instructions
Power and communication requirements differ between wired, wireless and battery-assisted products. Even models from the same manufacturer can use different supplies and conductor arrangements. Confirm the exact model, voltage, cable type, maximum run, control topology and termination location before first fix.
Lutron provides separate guidance for wired power and communication and for supported wireless-communication shades. That separation is a useful reminder: “motorized shade cable” is not a complete specification. The approved project drawing should name the circuit or supply, route, motor end and control connection for each opening.
Label both ends of every cable using the window reference. Test the route before the ceiling closes and leave the termination protected. If a future motor is planned but not installed, record the provision as inactive and document how it can be reached safely.
Align the pocket with the wider ceiling plan
Overlay the shading details with lighting, sprinklers, detectors, speakers, access panels, bulkheads and AC grilles. A curtain stack can obstruct an air outlet, while a downlight placed too close can create an uneven scallop or heat concern. Resolve clashes on a coordinated drawing rather than during final installation.
Check finished floor level and ceiling datum. Full-height curtains depend on the relationship between track and floor; late changes can make panels appear short or drag. Confirm whether the track is concealed, surface-mounted or set behind a decorative pelmet, and agree the visible finish when the curtain is open.
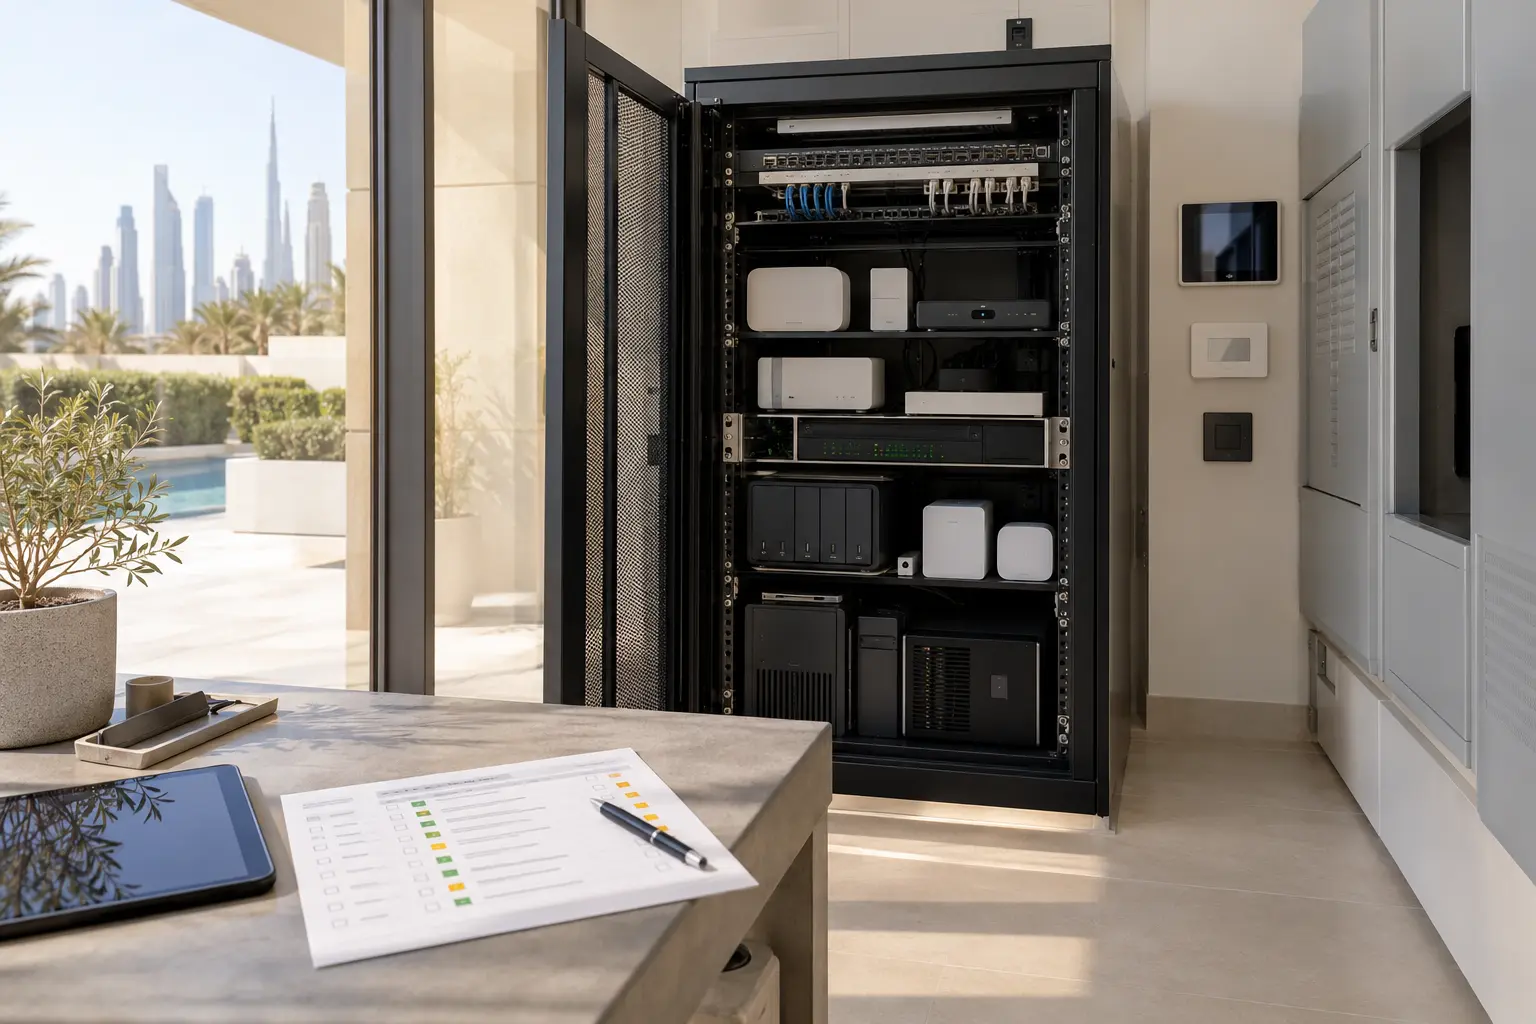
The smart-home prewire checklist covers the broader ceiling and cable coordination around network, lighting, audio and security systems. Keep the shade schedule linked to that same room naming system.
Specify physical control and scene behaviour
Decide how occupants will operate each treatment normally. A nearby wall button may be more intuitive than an app for daily use. Agree open, close and any useful preset positions, along with clear button labels. Bedrooms may need independent bedside control; shared spaces may need separate sheer and blackout commands.
If curtains join lighting, cooling or an evening routine, document the exact action. A scene might close sheers rather than blackout curtains, or stop at a privacy position rather than fully close. Confirm that manual adjustment and local operation remain understandable for guests and household staff.
Schedules based on time, daylight or occupancy require separate agreement. They should not surprise someone using a balcony door or moving furniture. Ask how the selected system detects an obstruction, how movement can be stopped and what happens during a power or internet interruption. The smart home without internet guide provides a useful test structure.
Inspect before closing and test after fabrics arrive
Hold a pre-close inspection with the interior, electrical and shading teams. Check reinforcement, pocket dimensions, motor side, cable labels, supply locations, access and clashes. Photograph concealed details with their room references and store them in the project record. Resolve discrepancies before plaster and paint.
Commission only after the final track, motor and fabric are installed. Test each opening through several full cycles, listen for rubbing or excessive noise and check that fabric clears handles and furniture. Verify stops, alignment, paired movement, wall controls, scenes and recovery after a normal power interruption.
The handover should identify installed models, remote or keypad functions, owner accounts, warranties, fabric-care responsibilities and the route for service. Include the opening schedule and safe access method. The smart-home handover checklist helps define the wider documentation package.
A successful curtain pocket disappears into the room while remaining serviceable. That outcome depends on measured coordination before finishes, not a motor chosen after the ceiling is complete.
Request a Dubai villa shading assessment with your current window schedule and fit-out stage. Do not include access credentials or security-sensitive plans in the initial enquiry.