A smart home still needs controls that make sense to someone who has never seen the app. Family, guests and household staff should be able to enter a room, find the light they need and leave without guessing. Physical keypads can simplify a villa, but only when their positions, button functions and labels are planned around everyday routines.
This guide helps owners, interior designers, architects and fit-out teams create a room-by-room keypad brief. It is not a product specification or an accessibility assessment. The final design must follow the selected system, electrical design, wall construction and the needs of the people using the home. Our smart lighting control service can coordinate the control brief with the lighting and interior packages.
Start with people and routines
List the regular occupants and the people who use the home occasionally. Include children, older family members, visitors, household staff and maintenance teams where relevant. Then describe what each person normally needs at the entrance to a room, beside the bed and on the route out of the property. Do not begin by filling a keypad with every function the system can perform.
For each location, write the two or three most common actions. At a family entrance they might be Welcome, Ground Floor Off and a clear path to the kitchen. At a bedroom entrance they may be Main, Relax and Off. A bedside control may need Reading, Curtains and a gentle route to the bathroom. The actual terms should come from the household, not from a generic template.
Keep security-sensitive actions and unusual whole-home commands away from casual buttons. Define their authorisation, feedback and safeguards separately.
Decide what deserves a physical button
Give physical priority to frequent actions, actions needed without a phone and actions that help someone recover when another interface is unavailable. Lighting on and off, a useful room scene, curtain movement and a clear exit state are common candidates. Detailed temperature schedules, rarely used colour settings or service functions may belong on another interface.
A keypad button may control one circuit, recall several lighting levels or combine compatible systems. Control4’s current keypad user guidance explains that supported buttons can operate lights, scenes, audio/video, blinds, gates and other programmed functions, and that engraving can identify assignments. This describes that platform’s capabilities; the proposed system and integrations must still be verified.
Write one sentence for every button: what a tap does, whether press-and-hold does anything, which area is affected and what feedback confirms the result. If that sentence is difficult to explain, the function may be too complex for an everyday control.
Limit choices at each location
More buttons do not automatically give better control. A crowded panel increases visual and cognitive load, especially when several buttons have similar names. Group functions by the point of use. A person entering a room usually needs the room’s normal state first; secondary settings can be placed below or moved to an app or touchscreen.
Use a consistent order across similar rooms. If the top button recalls the normal scene in one bedroom, avoid making it All Off in the next. Consistency supports learning. Where a double press or hold is used, keep it predictable and reserve it for a useful secondary action rather than hiding a critical command.
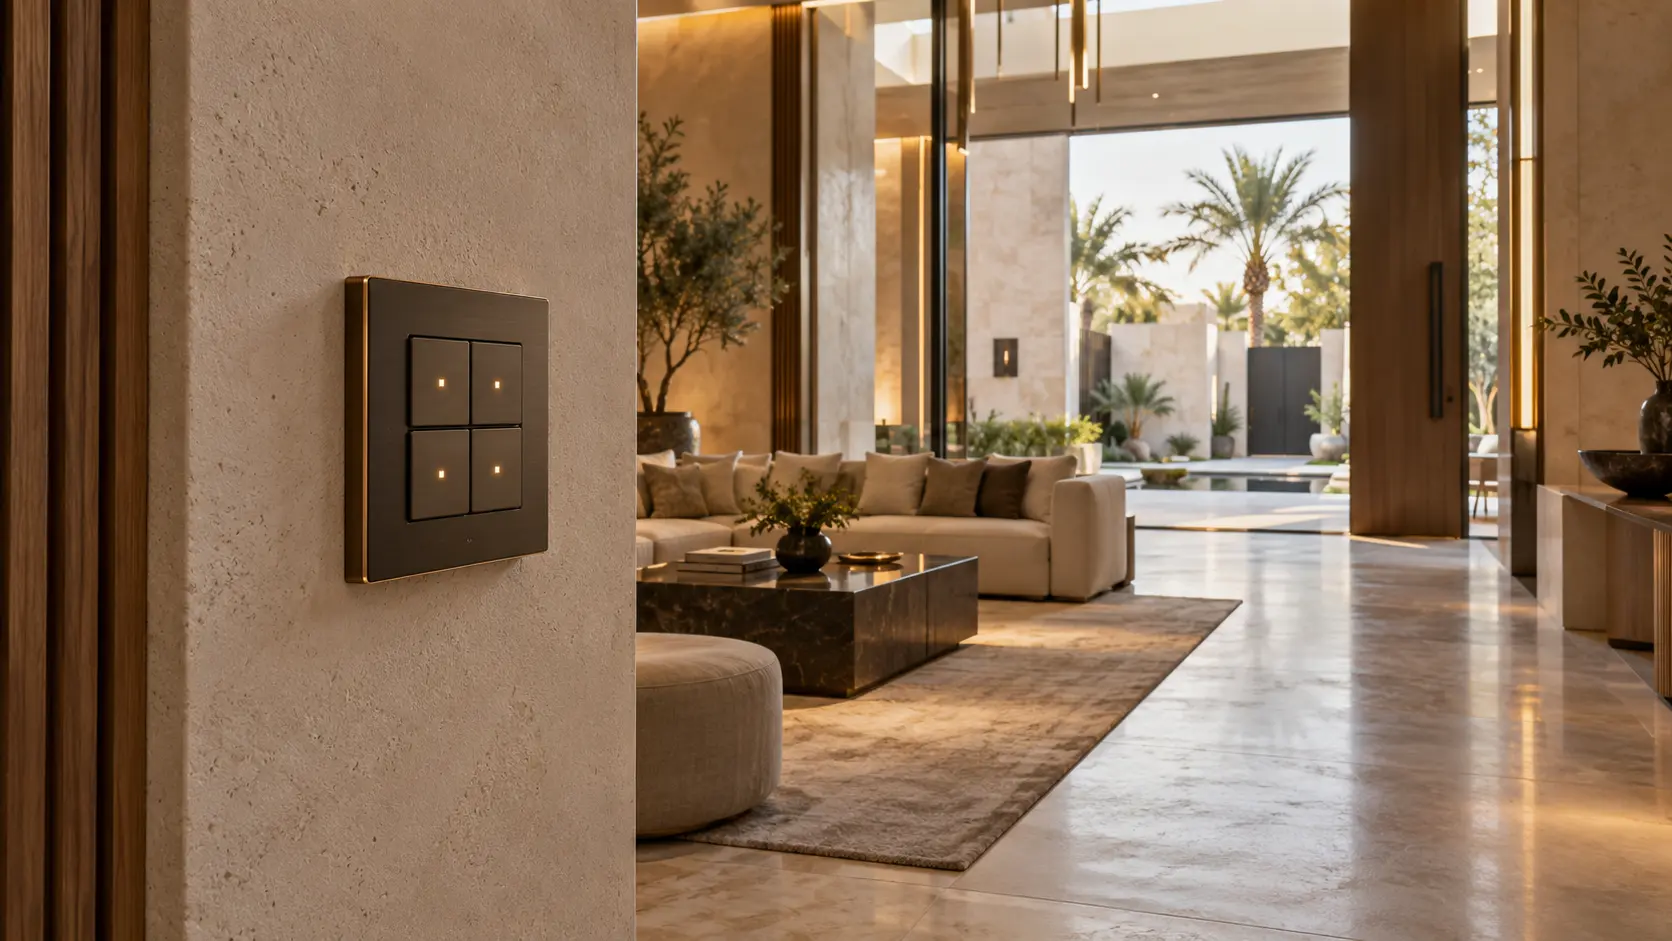
Lutron’s current Palladiom HomeWorks keypad page shows two-, three- and four-button configurations, optional text or icon engraving, status indication and tactile feedback for that keypad family. It also lists wiring, wall-box and indoor-use requirements. Use the exact selected model’s current regional documents; a layout seen online is not a construction detail for another product.
Write labels in household language
Labels should describe the result people expect. Main, Reading, Dinner, Night and Off are often clearer than Circuit 4 or Scene B. Avoid vague pairs such as Mode and Function. Test the words with someone who was not in the design meetings. If they cannot predict the action, revise the label or the function.
Choose the language or familiar icons with the household and confirm what the manufacturer can engrave before ordering button kits. Evaluate backlighting and status indicators in the actual finish and lighting conditions.
If the household needs tactile differentiation, higher contrast, larger targets or another accommodation, include that requirement at the start and review physical samples where possible.
Place controls where people reach for them
Coordinate keypads on finished wall elevations, not only floor plans. Check door swings, joinery, artwork, stone joints, mirrors, bedside furniture and other electrical accessories. Agree the mounting position and alignment with the interior and electrical teams before back boxes are fixed. The selected hardware determines box type, depth, wiring and clearances.
Walk the route into and out of each space. A control hidden behind an open door or far from the natural path will feel inconvenient every day. Bedside buttons need to match the final bed and table positions. Double-height spaces, terraces and rooms with more than one entrance may need more than one control point, but each should have a defined purpose.
The smart-home prewire checklist covers the broader coordination of back boxes, cable routes and reflected-ceiling information. Include the keypad schedule in the same room-naming system so programming and engraving match the drawings.
Separate room scenes from whole-home commands
A room scene should normally affect the room named on the button. Whole-home commands such as Away or All Off need a separate discussion: which lights remain, what happens to curtains, whether climate settings change and how an accidental press is handled. Do not let a convenient label hide a long list of unreviewed actions.
Control4’s official lighting-scenes guide illustrates that a single supported scene can set several lights and can be edited within that platform. The project brief should still define who may edit scenes, which rooms are included and how changes are documented. An owner-adjustable lighting level is different from changing security or access behaviour.
Use the smart switches or smart bulbs guide to separate physical control strategy from the choice of individual lamps or circuit controls. The best keypad cannot correct an incompatible light fitting, driver or dimming interface.
Plan for guests and temporary users
Choose a small number of functions that work without personal accounts. A guest bedroom should have obvious lighting and curtain control. A visitor using the terrace should be able to turn on the local scene without receiving the home’s administrator access. Household staff may need dependable task lighting and clear area-off commands, not the owner’s complete control interface.
Document any guest mode as permitted functions, confirm when it ends and avoid exposing cameras, access logs or private routines.
Prototype before engraving and finishes
Create a keypad schedule with room, location, device model, finish, button count, label, tap action, hold action and status feedback. Review it with the owner, interior designer, electrician and automation specialist. A simple paper mock-up at actual size can reveal labels that are too long or a hierarchy that feels crowded.
Where practical, program temporary labels or a sample location before final engraving. Use it for several days. The household may discover that Dinner is used more than Relax, or that a bedside Off command needs a clear route light first. Correcting the schedule before final button kits and decorative finishes is easier than redesigning controls after handover.
Test real journeys at handover
Commission keypads room by room, then test journeys across the home. Enter after dark, prepare a room for normal use, leave it, go to bed and recover after a normal power or internet interruption. Confirm tap, hold, dimming, scene feedback and any cross-room effect. The smart home without internet guide provides a practical local-operation test.
Give the owner the final keypad schedule, programming records, model details, engraving references and a route for future changes. Demonstrate how to request a revision without losing the documented baseline. The smart-home handover checklist helps connect control training with account ownership, backups and support.
A well-planned keypad quietly reduces decisions. It puts a small number of predictable actions where people naturally need them, keeps labels clear and leaves advanced control available without making it compulsory.
Request a smart lighting and keypad assessment with your property type, project stage and the rooms you want to improve. Do not send access codes, passwords or detailed security information in the initial enquiry.